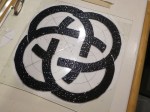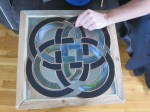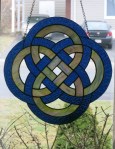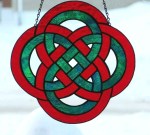
I found this design on Pinterest and fell for it right away.  I had to make it.
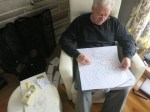
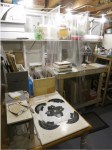
I figured out the geometric pattern and designed a prototype on an 8.5 x 11″ piece of paper using Microsoft Word shapes (mostly different sized circles and straight lines). Then I blew the design up to size it to 16″ x 16″, printed the pattern pages, taped them together and cut out the pattern pieces all on a Sunday. After I cut out the entire tracing pattern (41 pieces) I realized this design is quadri-symetrical so all I needed was one-quarter on the pattern and trace that 4 times. I love the pattern making phase of a project…probably more than foiling. It’s so creative!
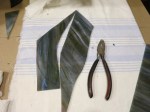
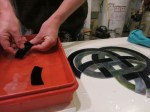
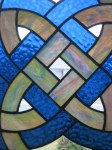
Next came the selection of the glass. That required a visit to Downey Stained Glass in Maugerville. The original plan was to go with a similar look as the image found on the internet, but I found a beautiful green & multi-color streaky that just had to leave the store with me. To complement the streaks of blue in this sheet, I chose a medium blue English muffle for the outer ring in the knot. With colors selected, tracing and cutting was an exercise in finding and following the color runs in the glass and tapping out curves. I really enjoy cutting glass too. That snap! through your fingers 🙂 Love that. The long curves made the cutting tricky but I managed without any breaks.
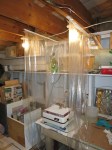
I got a start on the grinding on Sunday May 26th. I’m still thinking about reorganizing the shop for more efficiency and to establish a permanent grinding station but for now I’m happy with new grinding curtains. Grinding didn’t take long as there are only 41 pieces total.
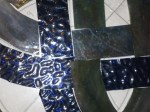
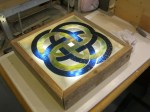
I decided I could not assemble and solder this project without actually seeing what the piece would look like when lit from behind. Therefore, I needed to make a light box so I could arrange the color patterns for best “flow”. I searched the internet for light box plans and there are some nice ones with fluorescent bulbs. I decided, for now, a quick and easy solution would be to buy some cheap battery powered LED lights (Home Depot) and construct a wooden 2×4 frame with glass top to set over the lights. That did the trick. I will still plan, someday, on building a more permanent light box.
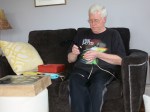
Foiling, soldering, washing, patina and polishing took a Saturday afternoon and a Sunday morning. A wonderful project…one I’ll hopefully do again, several times.
As it turned out, I did make more of these for Craftology SJ. Enjoyable!