Monica and I wanted a new bench seat for the front garden. The old one disintegrated to the point where (crumbly and dusty) we didn’t even want to sit on it, let alone display it in the garden. I moved it to the back yard onto some old cedar tree stumps. The birds like it there as a territorial grandstand.
So, for the front garden, we decided to make a new concrete seat with mosaic glass inlay. It sounded like a great summer project that we could enjoy together. I built a mold out of leftover shed materials and sized it to 44″x12″…. same as the original.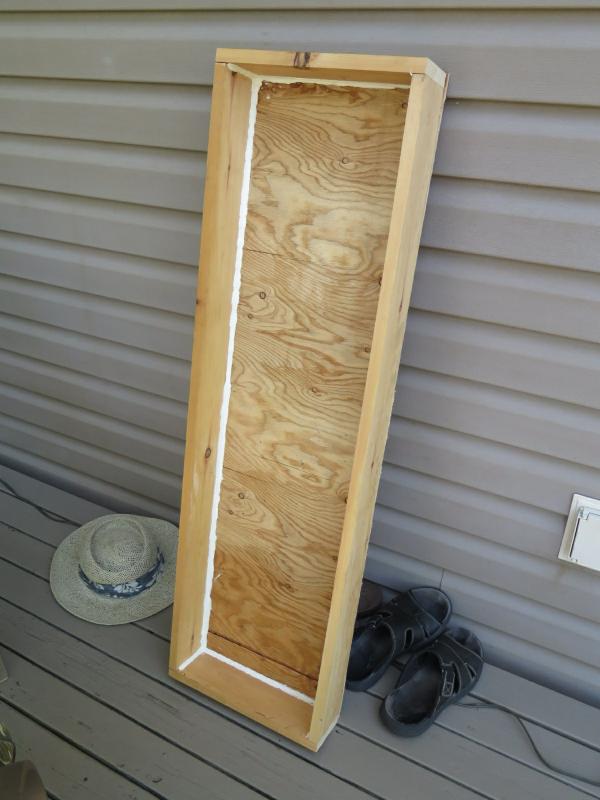
Our design was inspired by Vincent Van Gogh’s ‘The Starry Night’, with some artistic license to make it work as a long bench seat. The concept was drawn on the back deck on a hot July afternoon 😎… as we reminisced about Arles in the south of France… Van Gogh’s old stomping grounds. It was hot there too!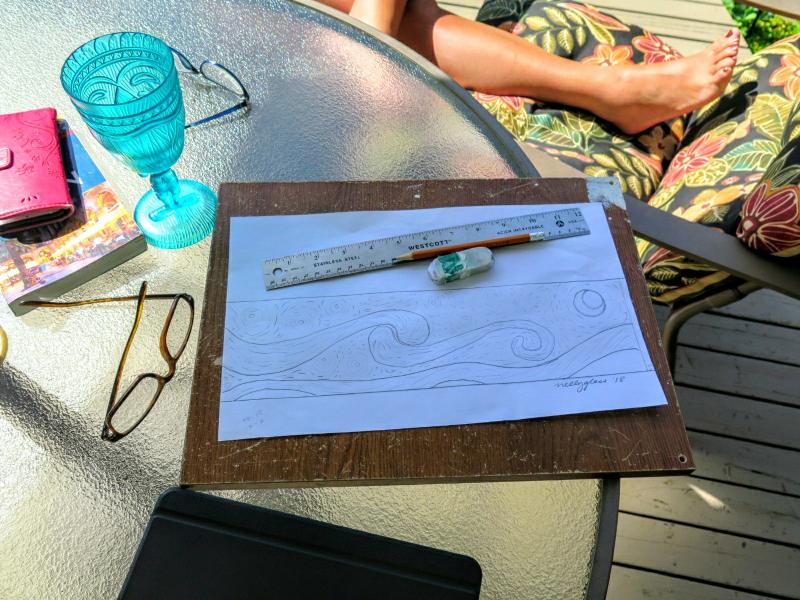
In the studio, I created the full sized pattern on plain paper. Then, with the help of the light table, traced onto the reverse side with black marker.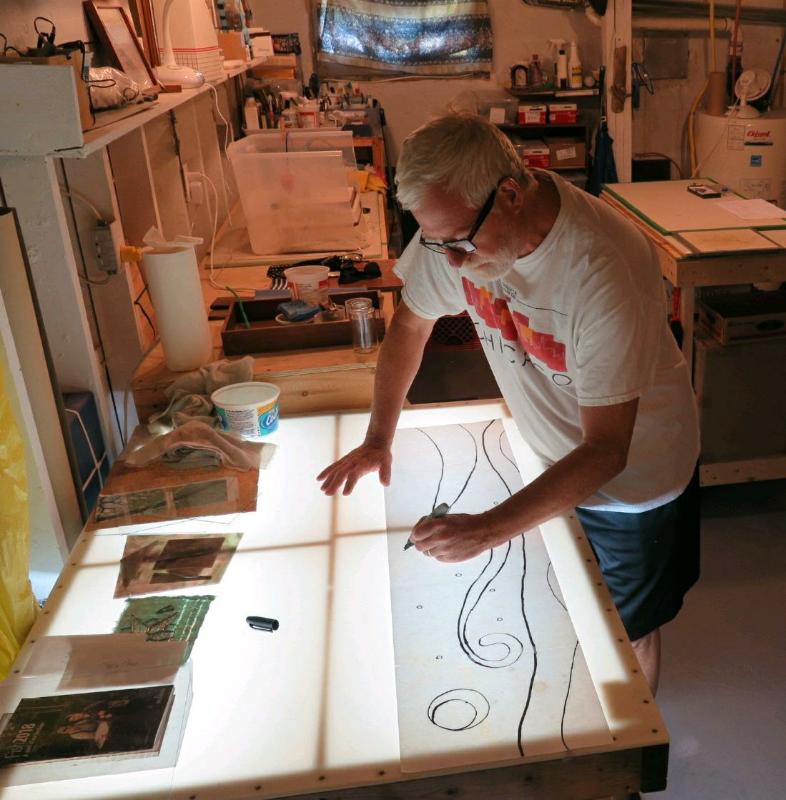
Next I browsed my scrap-glass inventory for suitable colors…mostly blues and yellows with shades of white, grey, orange, and green. In keeping with Van Gogh’s style of linear brush strokes, I cut the glass into many small bits… some less that 1/4 inch long. We would build the scene with these little strokes of color… like he did.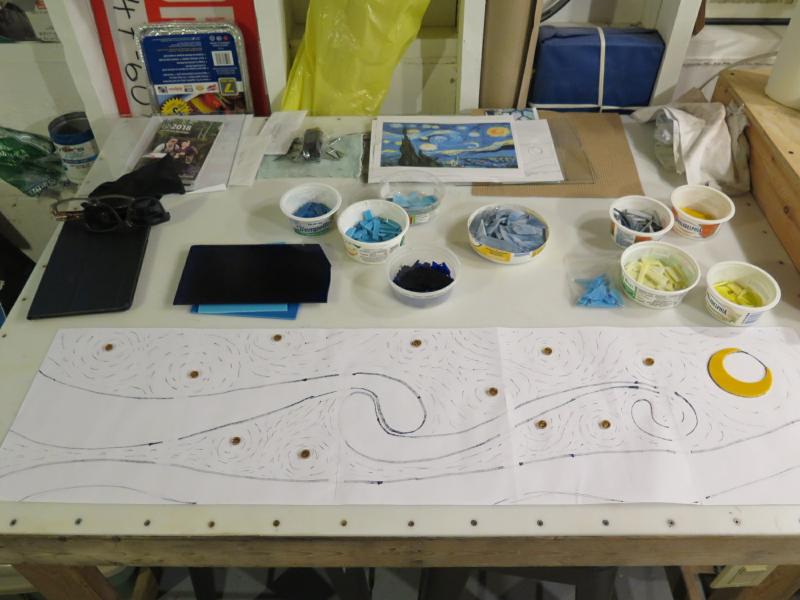
Using the same technique as my previous stepping stones, I laid the pattern upside down in the mold and then laid a sheet of clear mac-tac drawer liner on top of that… sticky side up. Then we laid the glass pieces face down following the reverse pattern sticking them to the mac-tac as we went (the mac-tac is to hold them in place during the concrete pour). Here is a photo of Monica adding some details to the stars.
Progress was steady although slower than I predicted. Even though there was almost no grinding, it still took three days to complete the mosaic. I didn’t count the pieces but my estimate is somewhere between 800-1000. Here is the completed mosaic in reverse as it lays face down in the mold.
We moved the operation to the garage where I used Quik-Crete cement mixed fairly wet for the pour. It took 1.5 bags (30 kg each). I also added two 1/4″ steel rods for strength. This particular cement has a lot of rocks in the mix so we debated whether or not to use it. The fear was we wouldn’t get a smooth tight finish around the glass pieces. Nevertheless, I continued with a fool’s confidence. 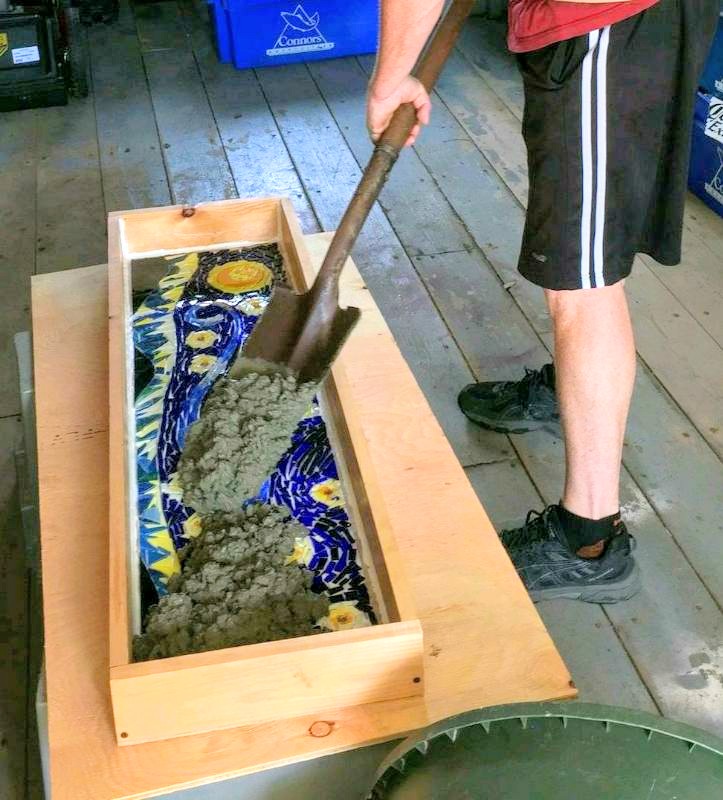
Two days later when we knocked it out of the mold and peeled back the mac-tac, I had that familiar emotional wash from delight to despair. On the positive side, we have a strong, solid and very heavy slab for our garden bench. On the learning side, there are a few things that I was anxious to try again… for my own reference, here is what I learned:
- Cathedral glass doesn’t work in a mosaic… my subtle shades of blue in the night sky all look the same
- Quikrete cement is great for the main slab but not recommended for the surface layer next to the glass… it’s too rough and grainy… I had multiple air bubble pockets that I had to fill with a patch concrete mix
- Any deeply textured glass surface that is desired showing in the finished product may be lost in my first method as the concrete seeps in, around and under the glass pieces
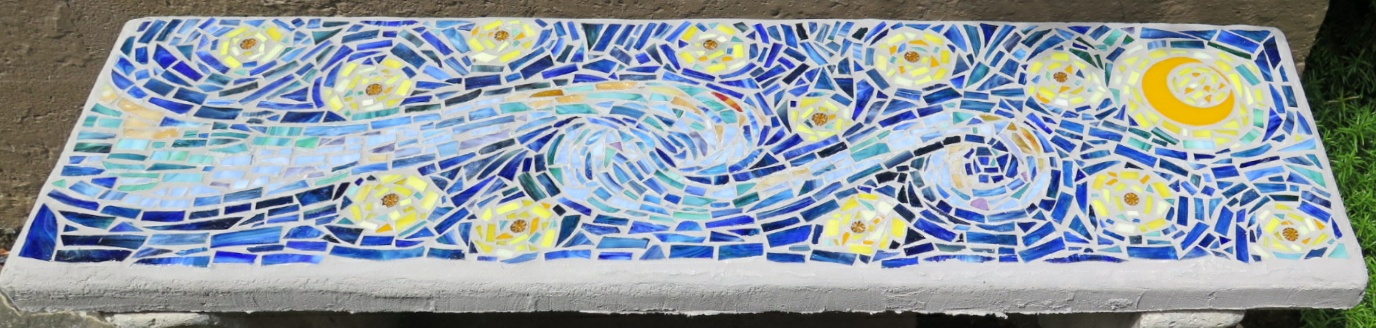
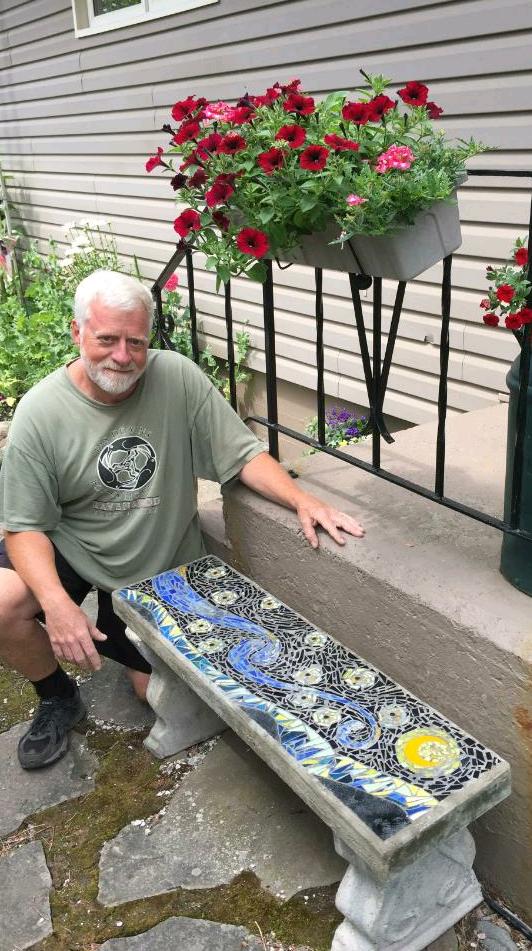
Here is the finished first attempt. I’ll be starting another one right away and using a different approach… pouring the slab first and then mosaic the surface with a grout finish. Can’t wait!
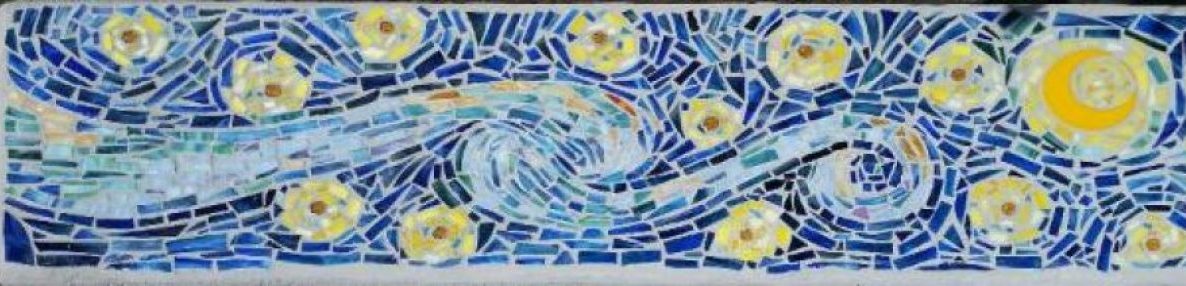
And, of course, I couldn’t wait. Three days later I had another slab poured in the garage, with steel rods embedded for strength. Then I proceeded to the studio to cut the next mosaic. This time with altered pattern to remove the hill tops leaving just the night sky with cloud ribbon, stars and moon. The selection difference this time was in using all opalescent glass (no cathedral) and face up position for the textures on the little star centers so they would not be lost in the concrete as before.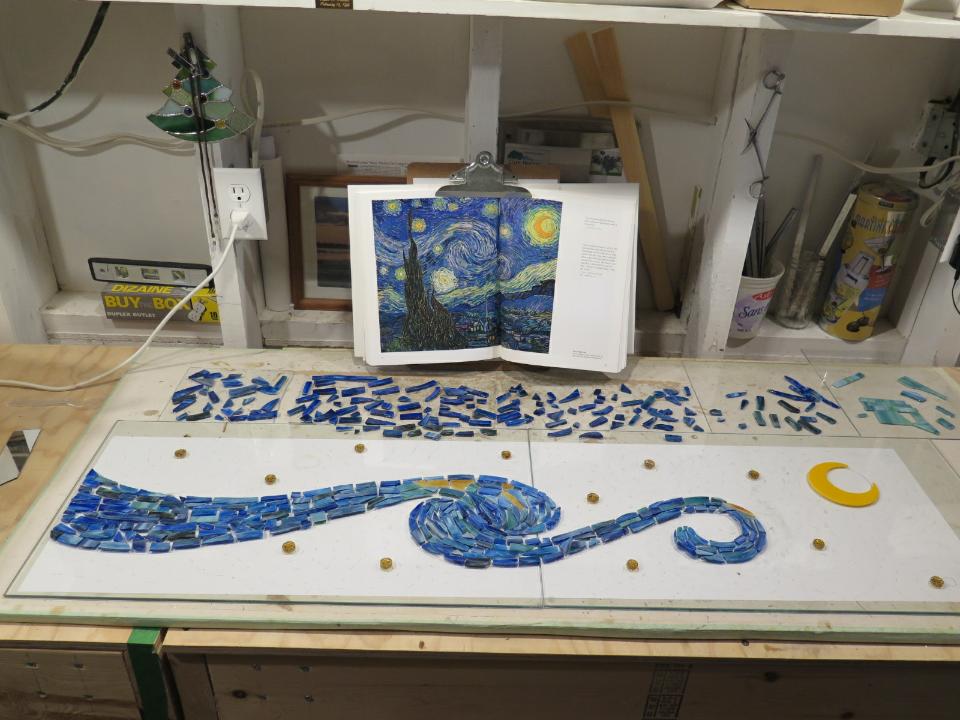
The second day of mosaic making was a 12 hour day (I really shouldn’t do that). I changed the colors in the cloud ribbon three times until I got the contrast with the background that I wanted. Here it is, almost finished, laying loosely on the paper pattern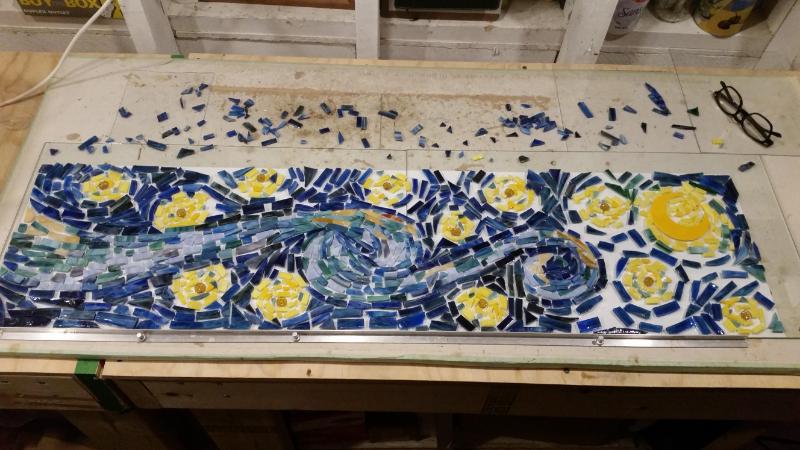
Once the slab in the garage was cured (3 days), I moved it to my studio in the basement where we could work on the mosaic surface. It took three hours of a coordinated approach with Monica working ahead of me laying down a layer of thin set mortar as I followed behind placing the pieces from the pattern layout onto the slab. It was intense! She was a master at keeping me on task. 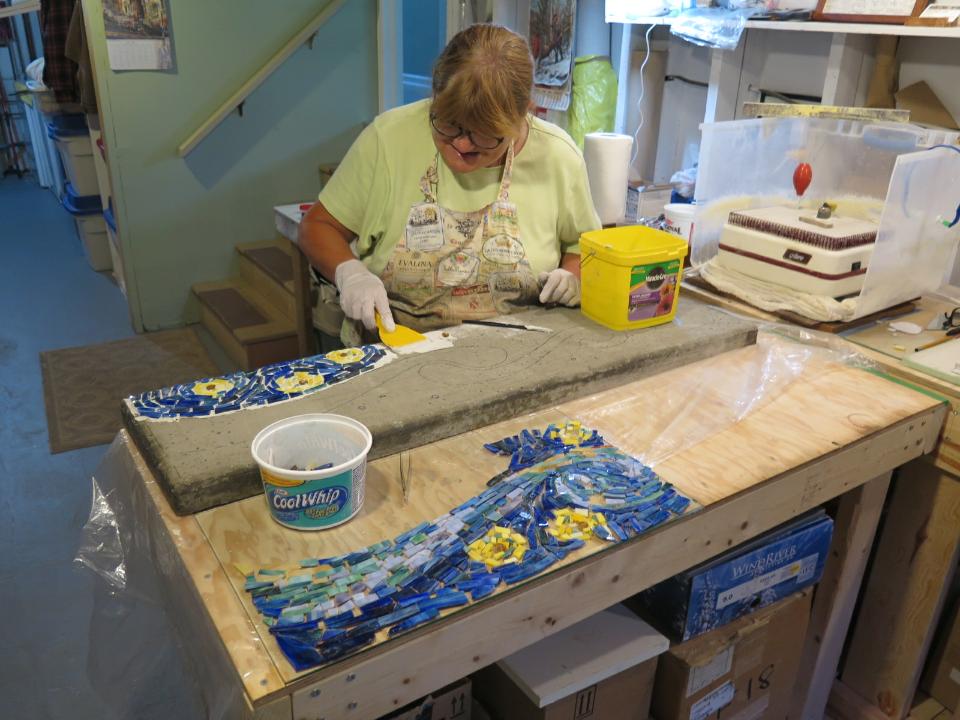
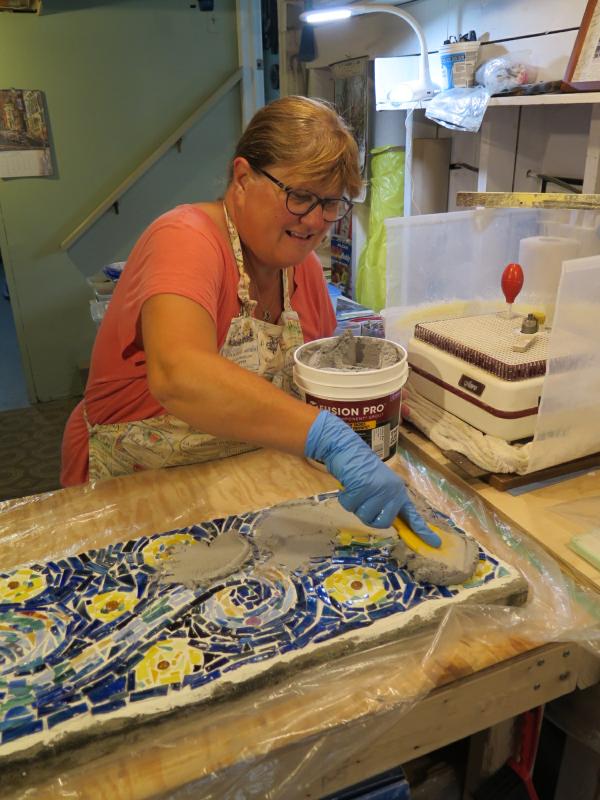 24 hours later, we laid down the surface grout and smoothed it off with a sponge trowel and sponge wash. Monica worked along beside me, neither of us able to stop lest the grout should start to set… except to snap the occasional photo. 😁
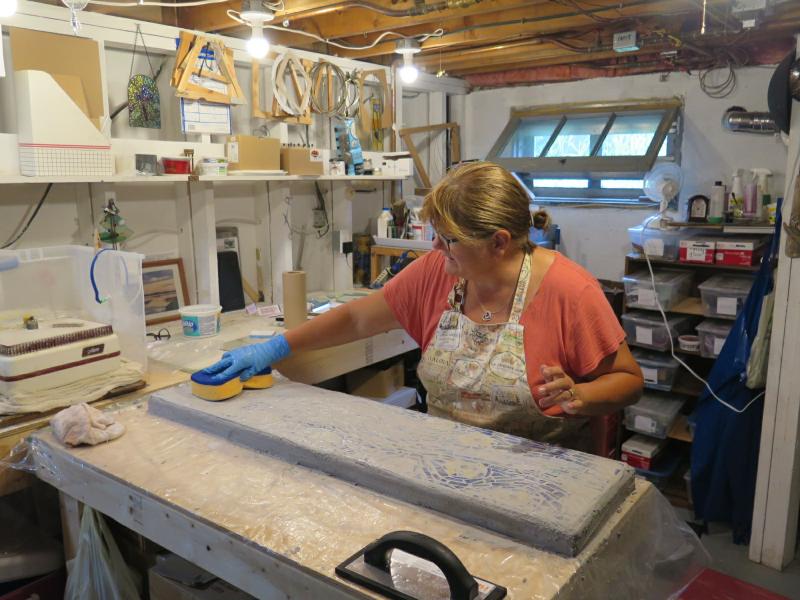
Then we let it cure in the studio for another 24 hours. And voila!

This was such a wonderful learning project for both Monica and me. Two completely different techniques, each with its own unique challenges, yielding very similar but unique results. The best part of all was sharing it with Monica.
For comparison, here is Van Gogh’s “The Starry Night” with the two Nellyglass benches. Which one do you prefer?