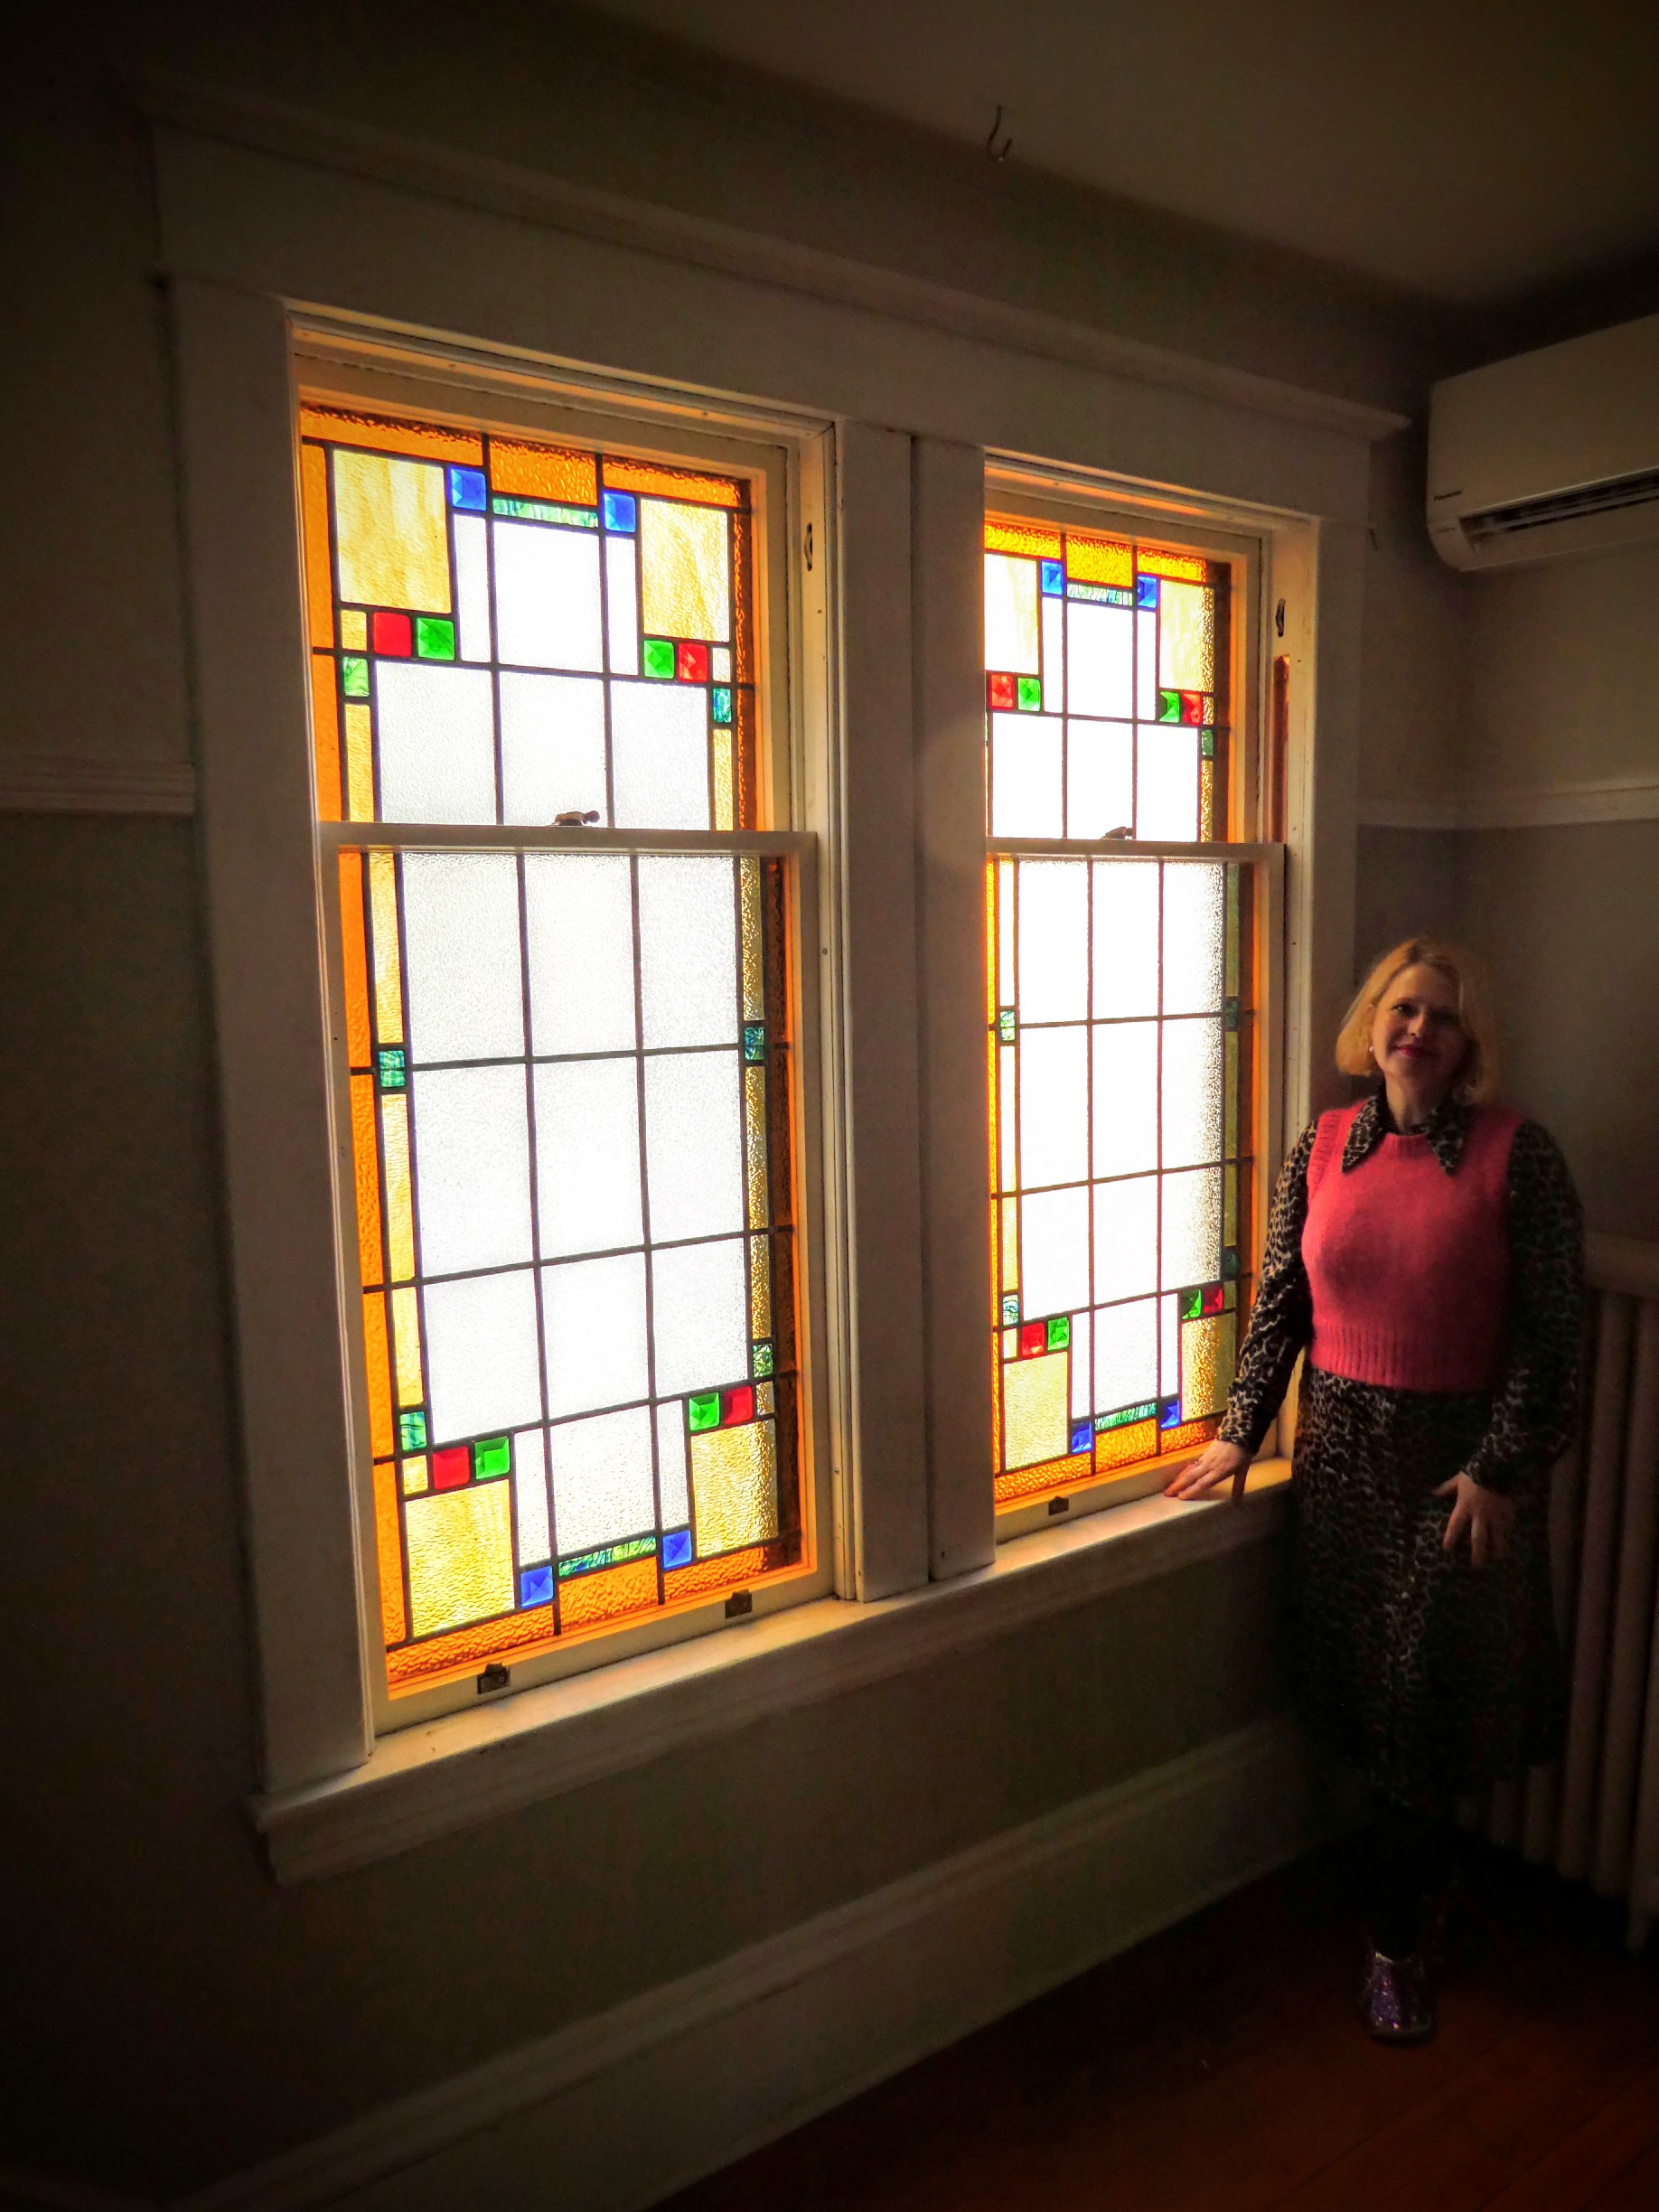
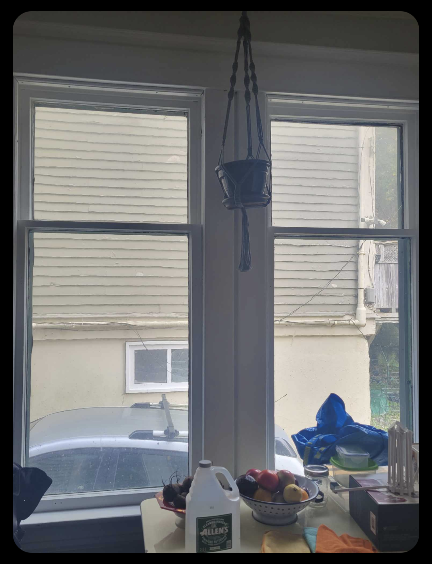
This was the final commission for Nellyglass Studio and, coincidentally, the largest. As I was pushing toward retirement at the end of 2023, Carrie Stevenson approached me with a project idea for her kitchen which I accepted and Carrie agreed, knowing I could not get to it until January ’24. There are two large double hung windows (5′ x 2′ each) that look out onto her neighbor’s driveway and the side of their house. The view is boring and offers no privacy for Carrie and her family when in the kitchen.

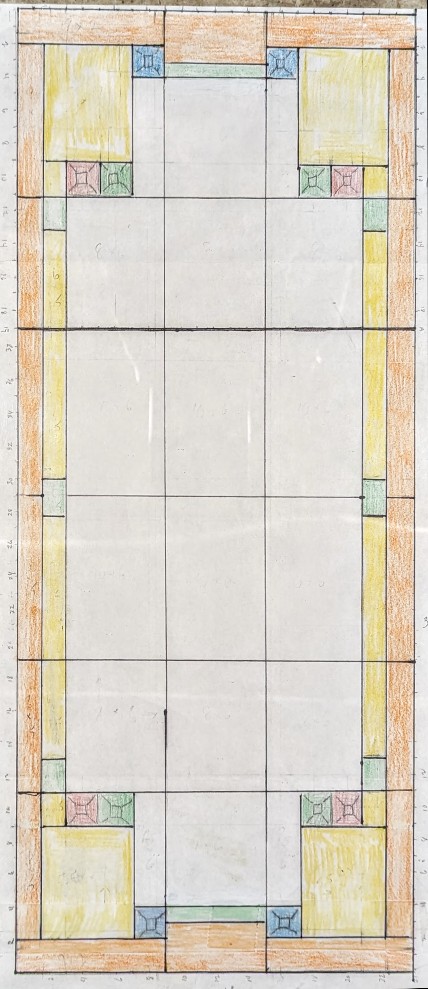
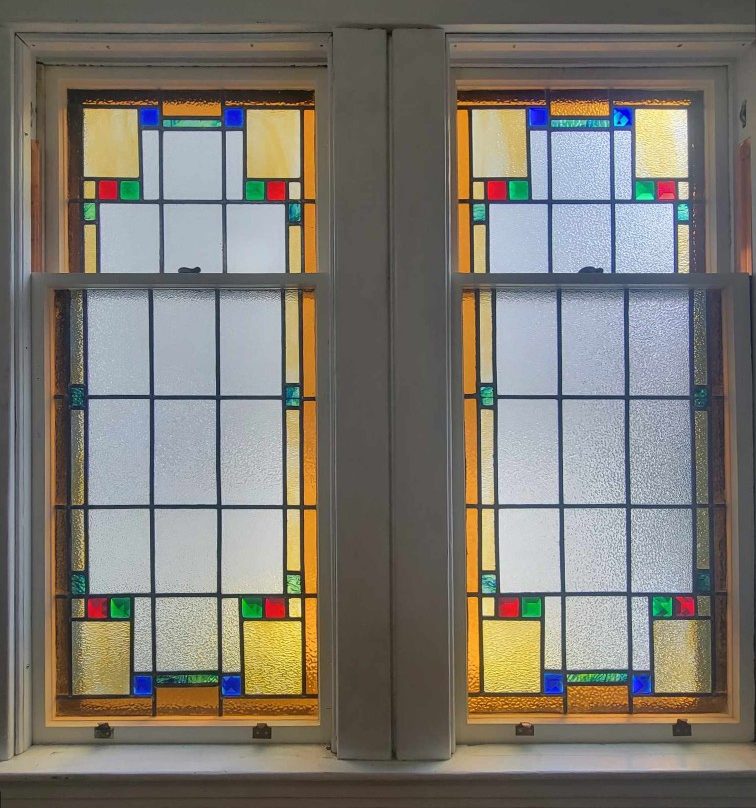
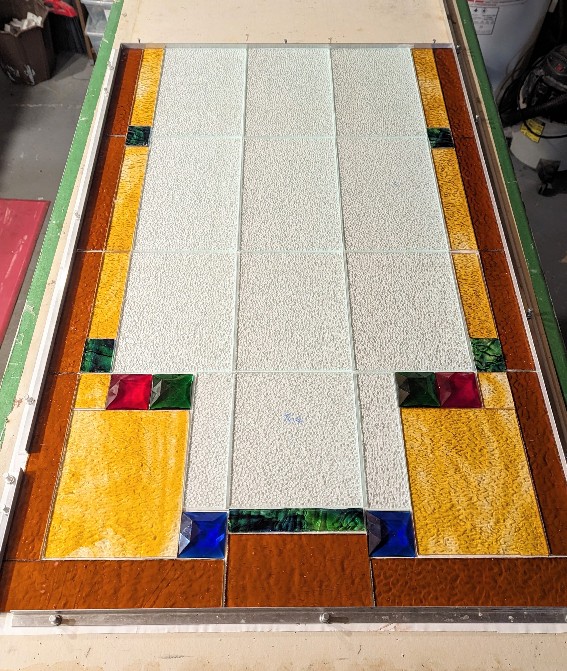
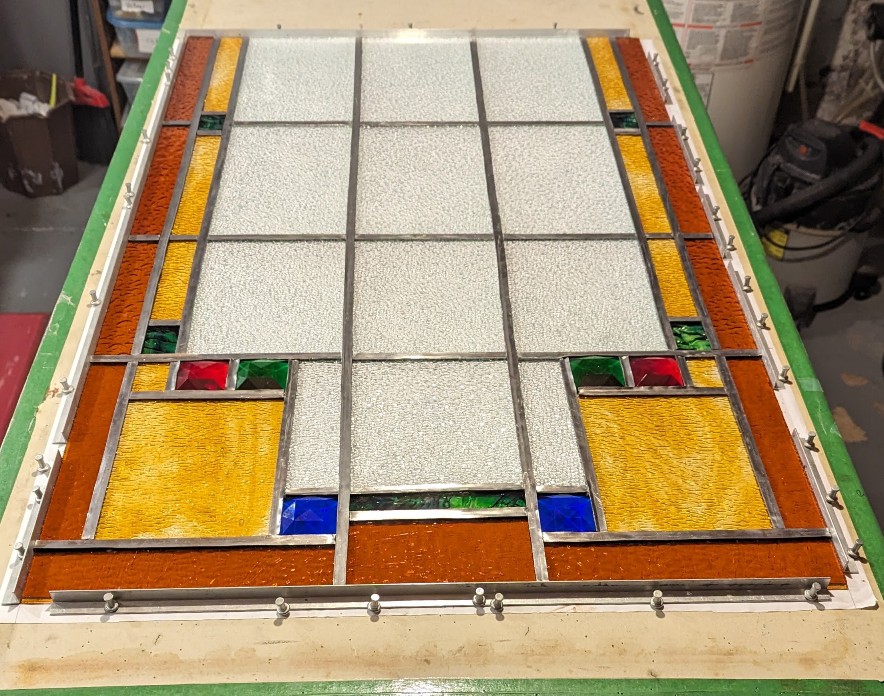
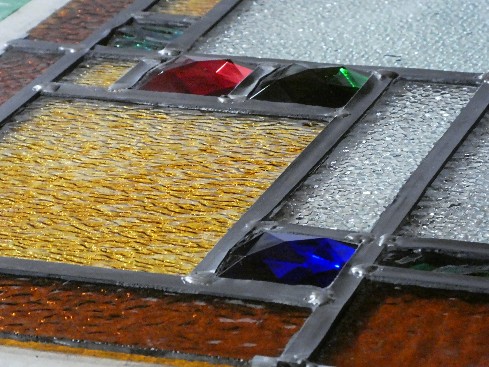
The ‘potential designs’ discussion I had with Carrie was fun and educational. We explored influences from the kitchen floor linoleum to the famous Dutch artist, Piet Mondrian (1872-1944). In the end, an online image of a pair of parlor doors at an auction house in the Netherlands won Carrie’s heart. I had to modify the design a bit to accommodate the actual window size (wider than the doors) and to incorporate elements that Carrie wanted, like 2″ square jewels.
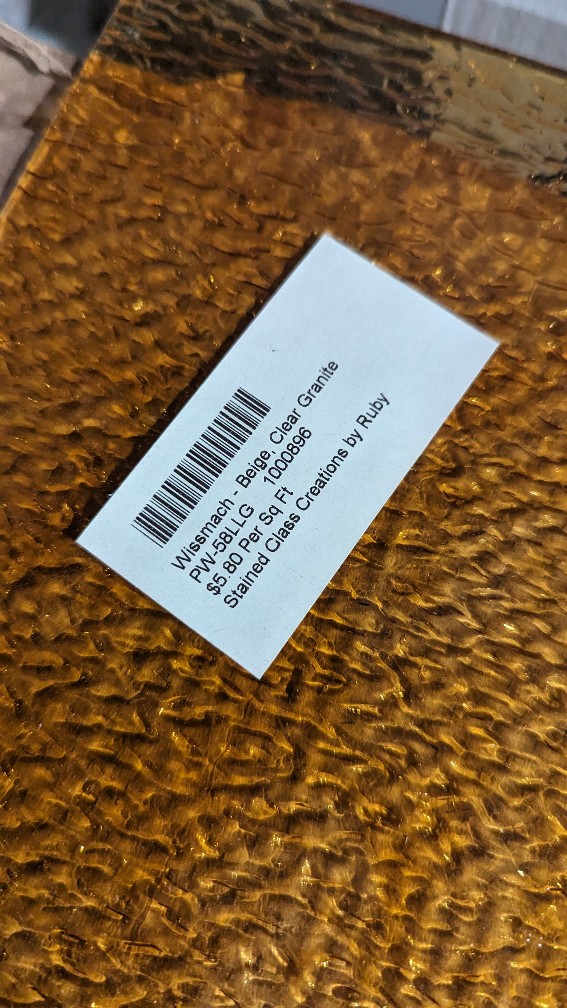
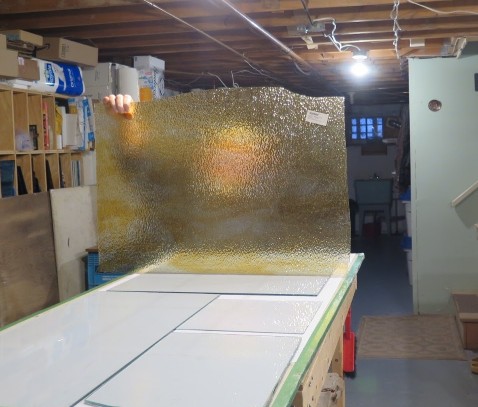
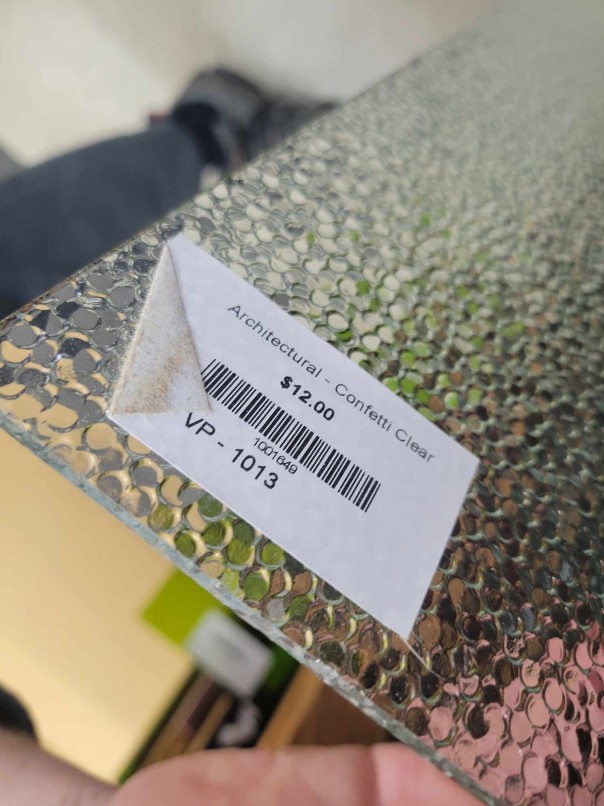
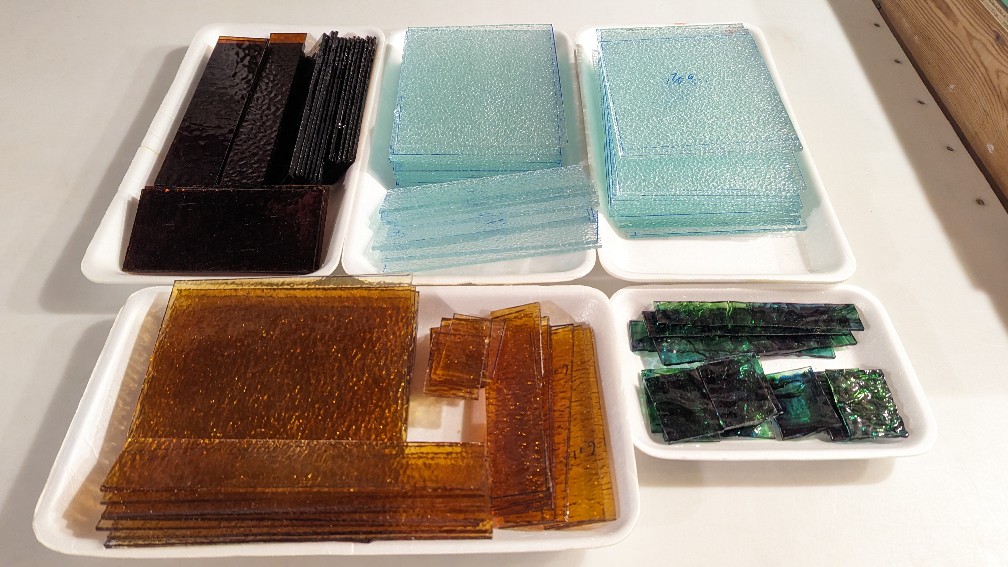
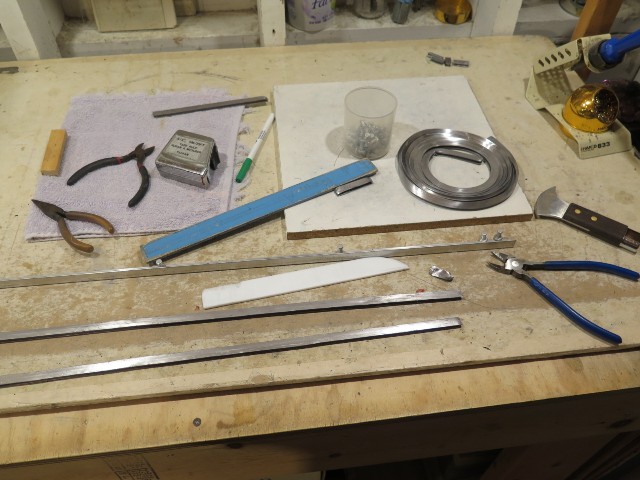
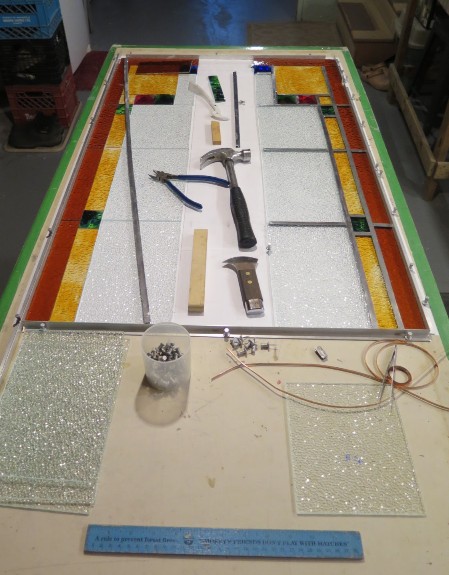
I gathered all the required supplies before the end of the year so I’d be ready for a quick startup in January. The glass was found in Saint John at the studio of Kim Killam. Large (2’x2′) sheets of yellow and orange and three large sheets of clear textured at a good price. (Thank you Kim). The blue/green ripple glass was from my own inventory. The jewels were sourced online in both Canada and the U.S. The finished surface area would be 20 sq. ft.
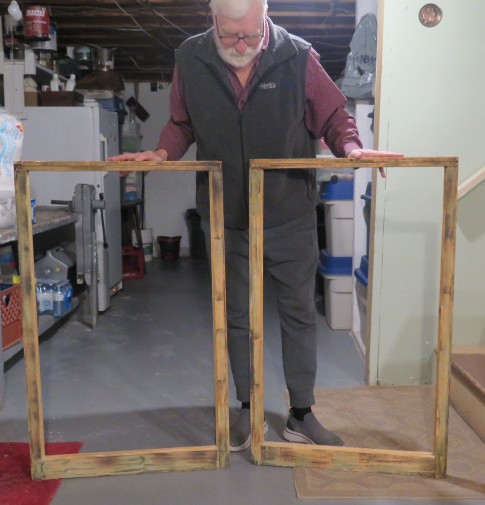
Early in January ’24, Carrie arranged to have the windows removed from her kitchen, the spaces boarded over for the duration of the project, the glass removed from the frames and the four sashes stripped down to bare wood and delivered to my studio. Many thanks to her carpenter as these are 100+ year old windows and the putty had calcified to stone. I could not have removed the glass myself without damage to the wood.
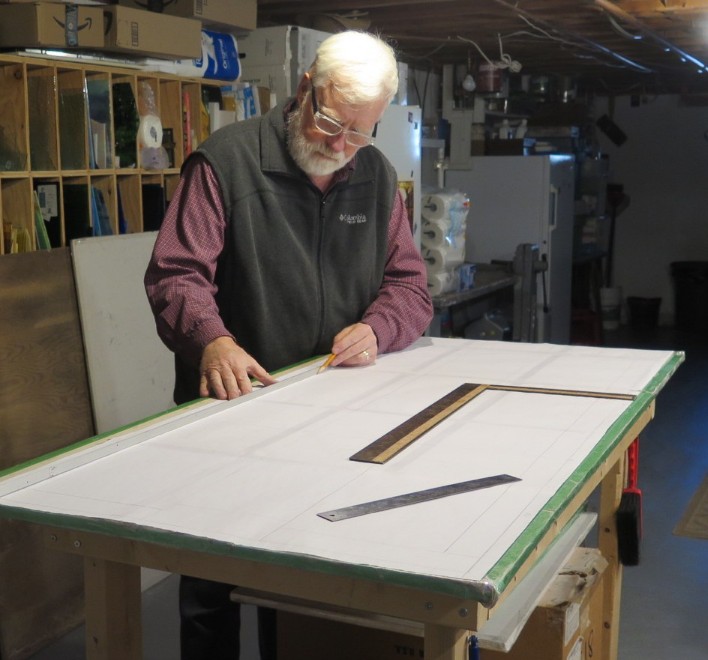
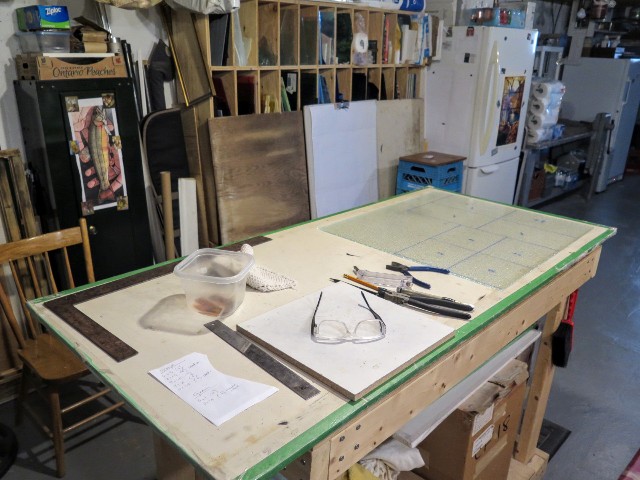
With the sashes in hand, I got accurate and precise measurements for pattern making. It took about 20 sheets of paper between the flat pattern and the tracing pieces. I sized the various color areas of the pattern according to the amount of each color I had available.
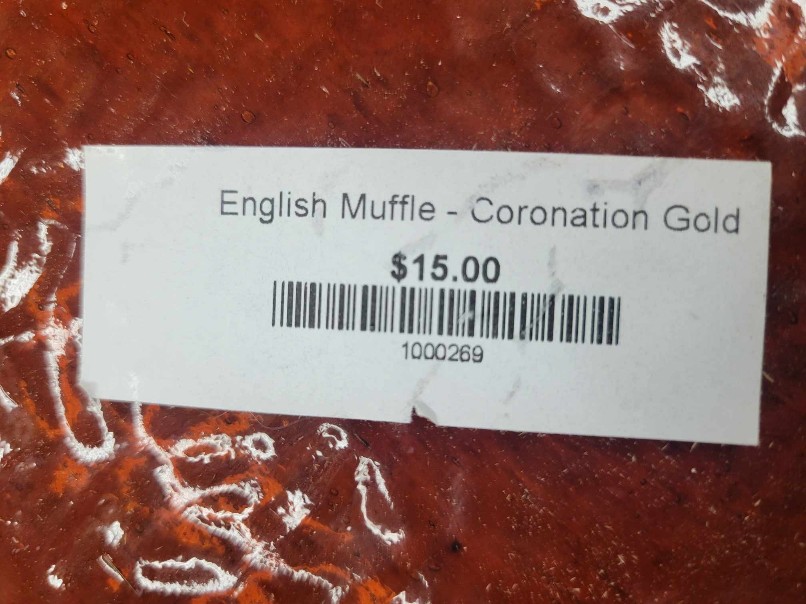
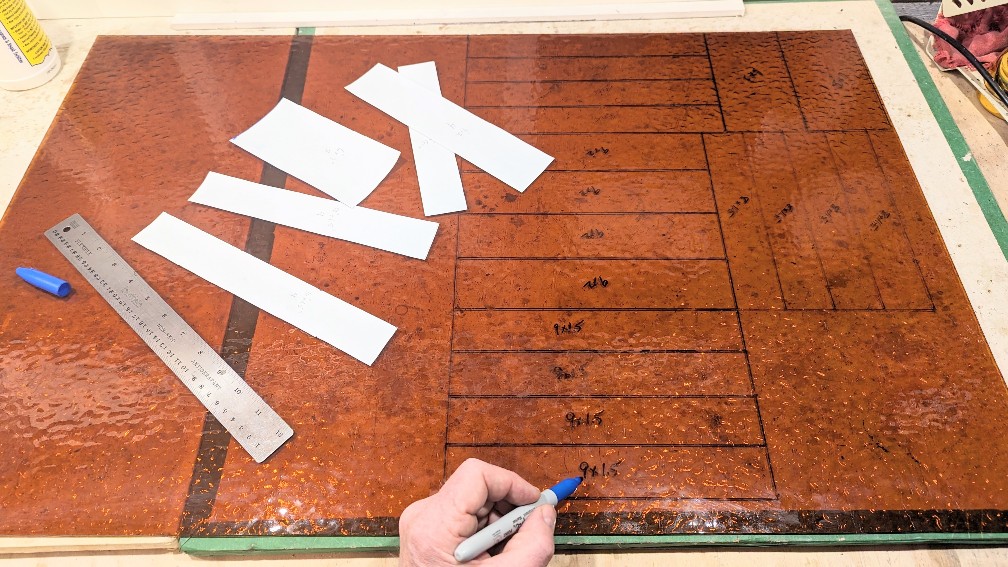
Then I started to cut glass and was in for a rude awakening. First up was the English Muffle glass “Coronation Gold” for the outer border. This glass did not always break along the straight score line and 3 of the 36 border pieces were unintentionally ruined. Fortunately, Kim Killam had more in stock. (Thanks again, Kim). The rest of the glass was cut without incident.
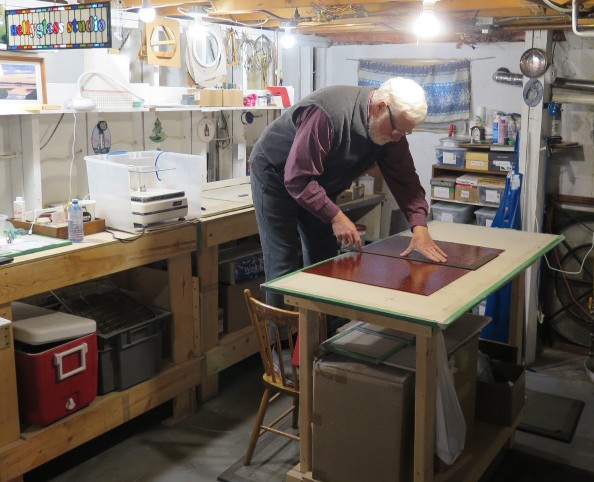
The grinding phase was relatively easy because all the edges are straight (curves take more time). The main concern here was leaving enough space between pieces to fit the lead came.
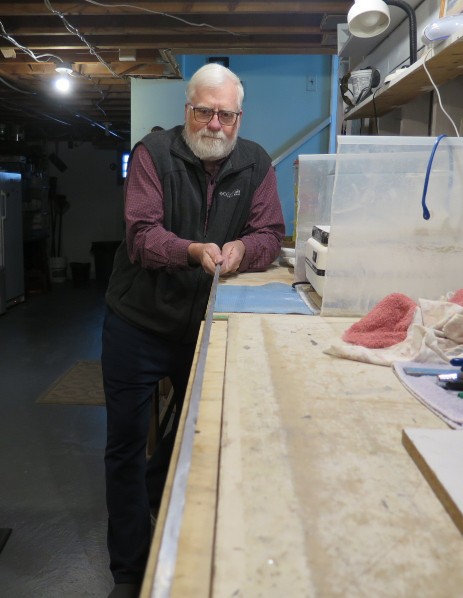
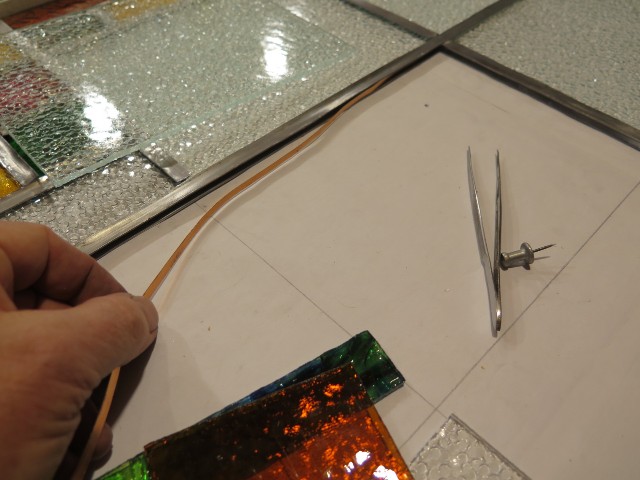
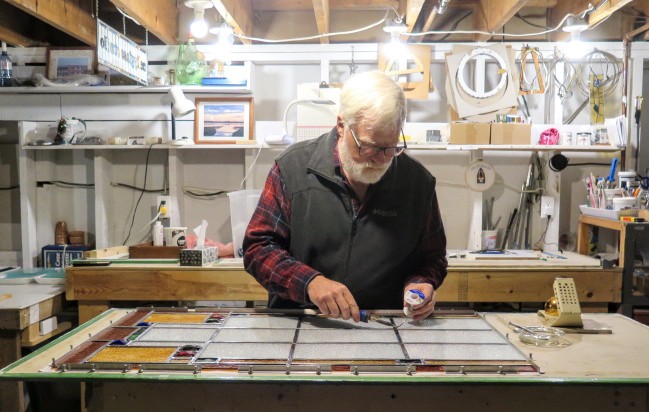
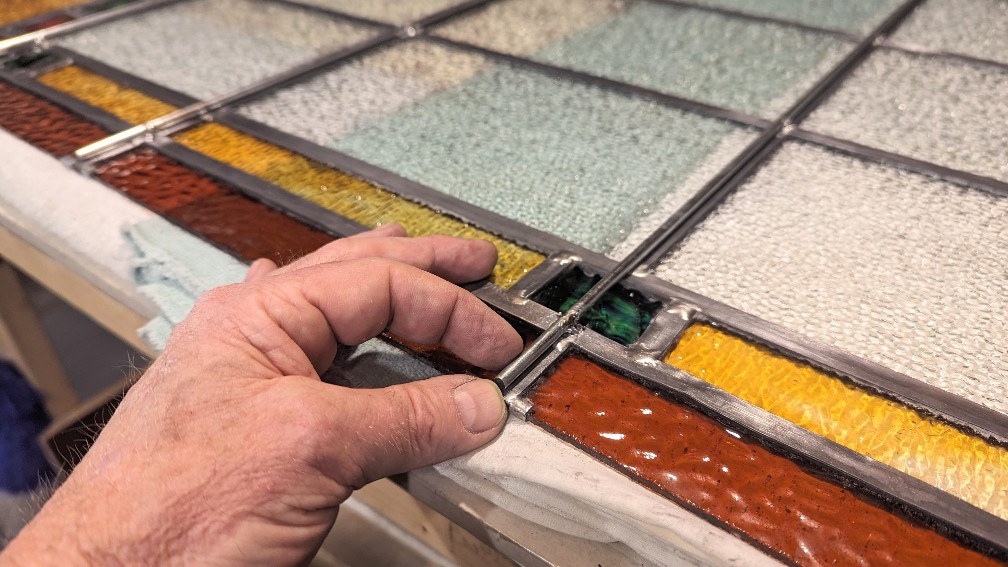
I enjoyed the quiet studio time while leading. It was good exercise moving around the table continuously bending and stretching. For vertical strength, I added lengths of copper restrip (flat ribbon) on either side of the two central cames. The biggest technical challenge was squeezing those extra thick jewels into the came channels. By the time I finished leading the first panel, I realized I had miscalculated the amount of lead came required for the entire project. That meant another urgent call to Kim. She saved me again (for the umpteenth time). Thank you, Kim, for your excellent service.
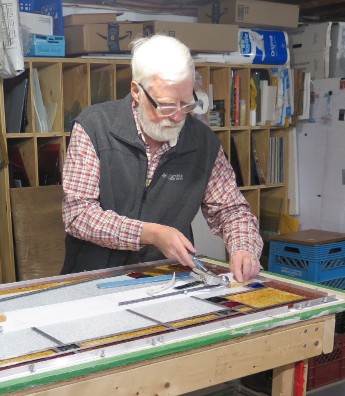
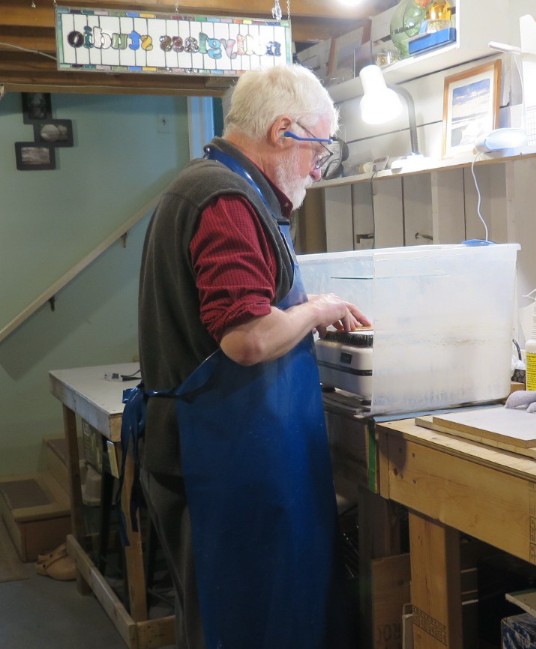
Soldering was quick and easy. The biggest challenge was turning the panel over. Monica was my assistant several times. Thank you Monica. Also, since there was no metal frame in the design for these panels (as they would be inserted directly into the wooden sashes and sealed with putty), I had to take extra precautions to secure the border pieces so they didn’t fall out during handling.
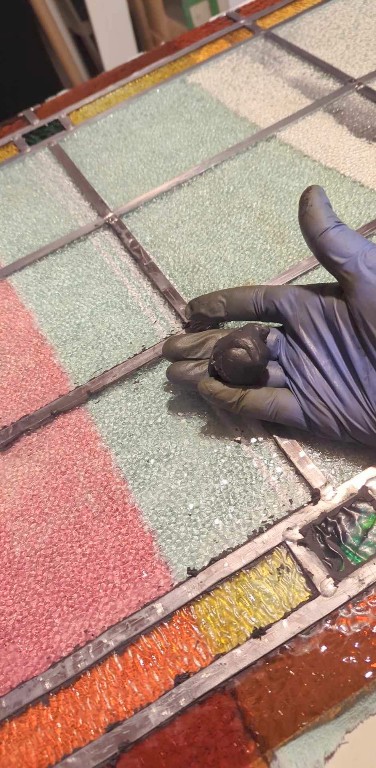
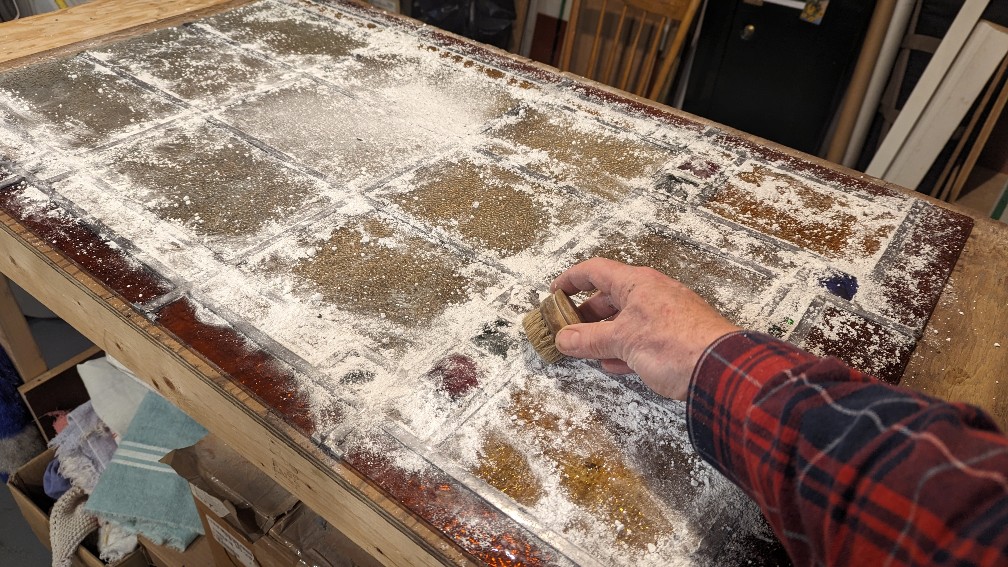
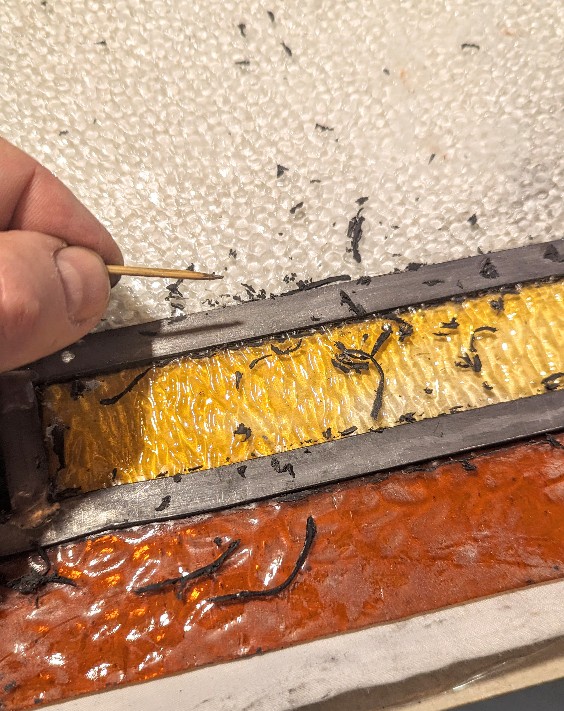
After the putty had cured for a couple of days, I picked the putty off all the edges on both sides and gave the glass and cames a final burnishing with whiting. At this point I also soldered zinc plated steel rods across the back for horizontal strength.
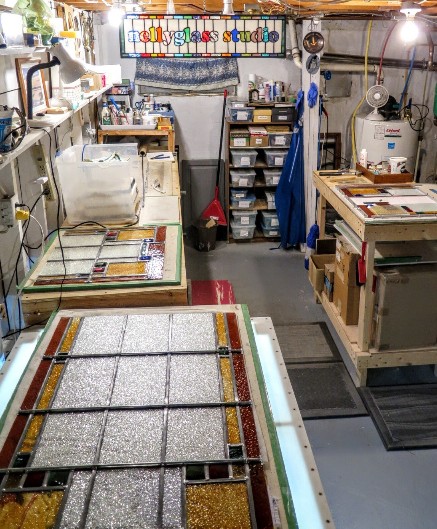
As so it went like this for two weeks until I had finished all four panels; two tops and two bottoms. The work was mesmeric and I enjoyed the quiet repetitions inherent with every stage of construction. As the work piled up, I felt a warm sense of accomplishment. There was only one task remaining that would be the true test of my accuracy… the fitting of the glass into the sashes.
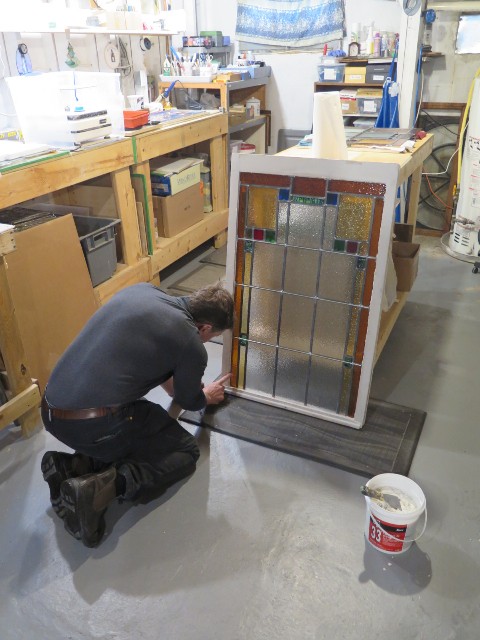
Carrie’s carpenter was on hand in my studio to ensure a proper fit and to pin the glass with metal clips. Fortunately, there were no issues. With the glass secured in place, the carpenter took the sashes back to his shop for final preparations before installation (oiling the wood, sealing with putty and priming/painting). Then I would wait for a photo of the windows in situ.
A sincere ‘Thank You’ to Carrie for the opportunity to advance my learning in the areas of handling large panels, cutting glass and lead, building in extra strength and calculating a cost of materials. Even though my business is closed now, that is knowledge I can take forward in my own artistic pursuits and share with interested others.
Thanks again, Carrie. I hope you enjoy the sanctuary of your Cloistered Kitchen.